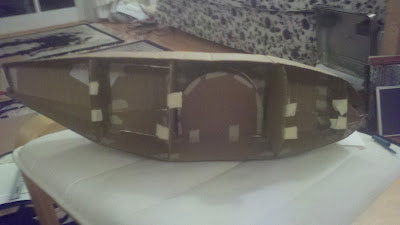
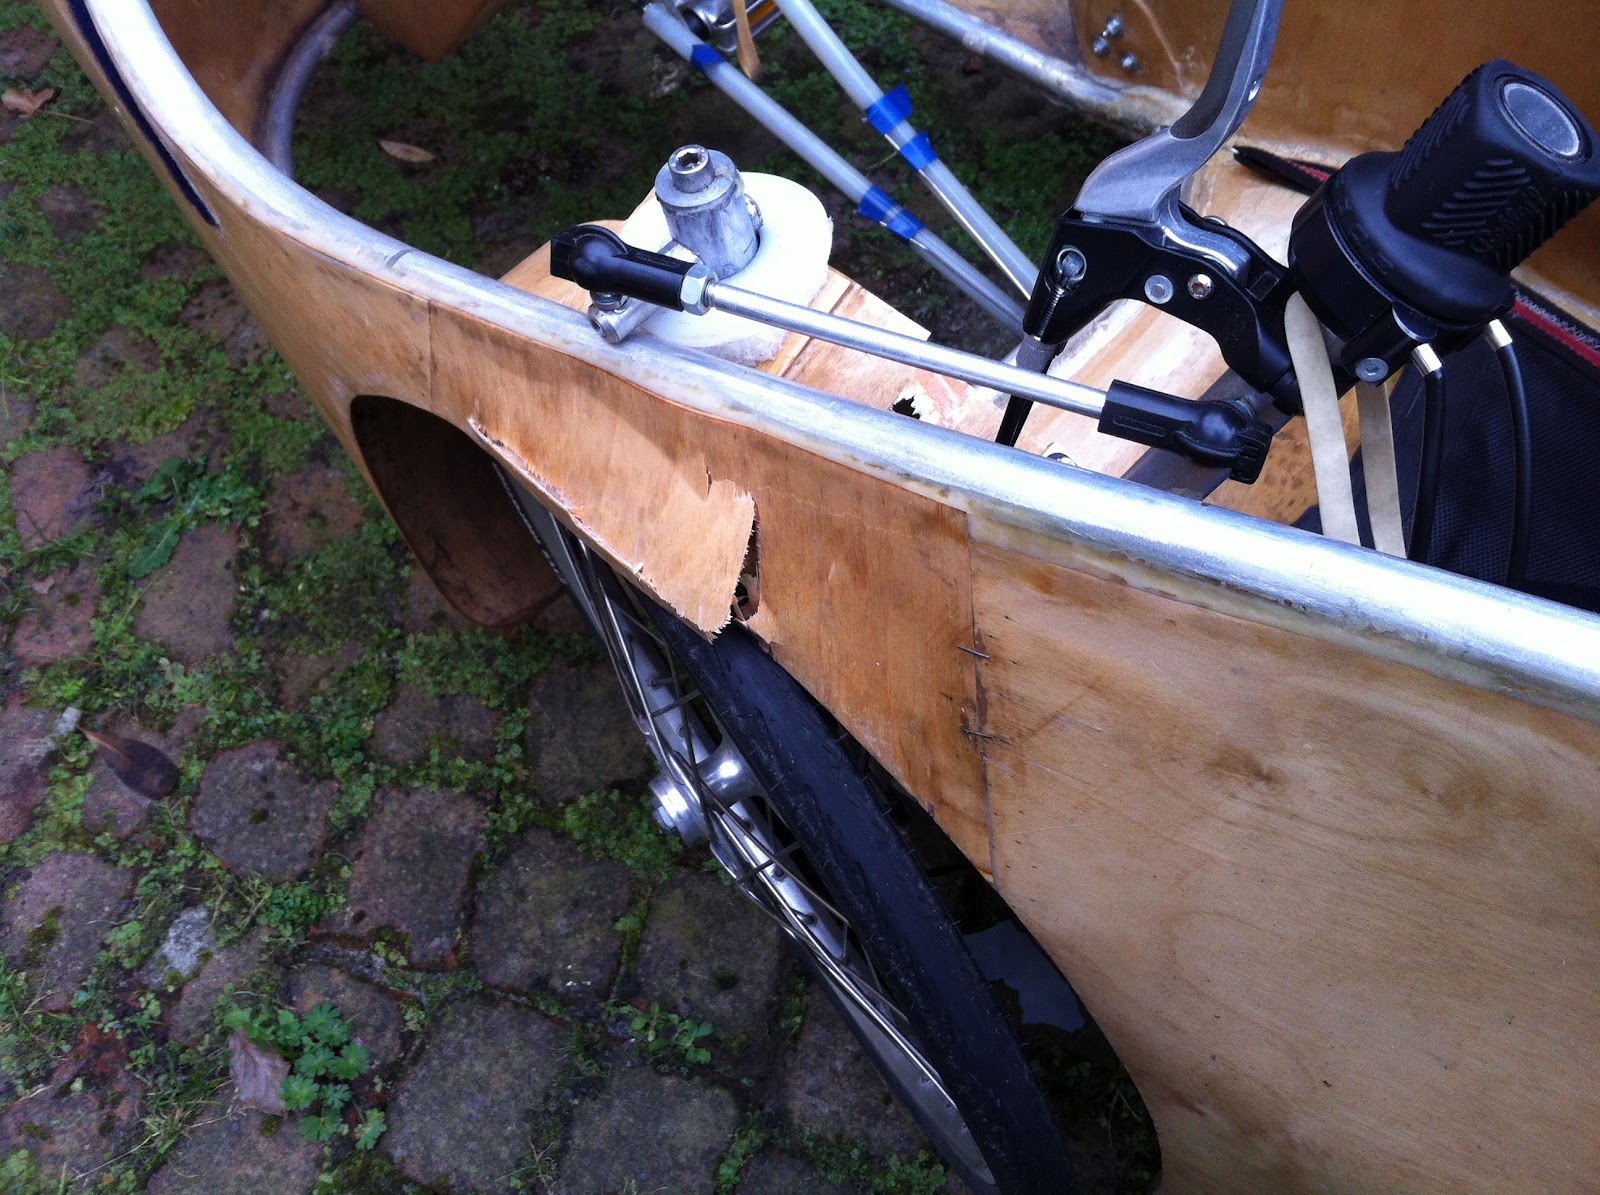
My new colleague Joost is fixing the body. Together we have glued the broken parts as good as possible and with remarkable success. Joost will laminate glass fabric on both sides. Laminating the plywood on heavy loaded places is a very simple and effective way to reinforce the body.
Monday, 18 March 2013
Monday, 7 January 2013
Darin Wick
Look what Darin Wick has made! I like the short seal like tail. Contrary to my design of the plywood velomobile (or better the design of Bart Verhees) in Darins design the seams are in the longitudinal direction. The effect is beautiful lines but a lot of work to connect them. Quest-style closed wheel boxes are easy to imagine too. Darin published a python script to plot the parts.
![]() |
| 1 to 5 model copied from Darins website |
![]() |
| inside |
Tuesday, 9 October 2012
break down!
This morning the body failed. Yesterday I stiffened the spring. While taking a put hole the spring support broke. The connection to the circular sheet in front was cracked a few weeks ago. I should have done something about it then....
![]() |
| The connection in front was failed already a few weeks ago. |
![]() |
| When the spring lost support the wheel damaged the body. |
Monday, 8 October 2012
PU foam spring failed
The PU foam spring of the left McPherson strut was failed. The right side is ok. It could be the material is degraded after 20 years. Maybe the wall thickness is too small. The cylinder shape buckles outward. Every time I take a right turn the wheel touches the wheel box. I have fixed it today by wrapping cotton tape around it to prevent the cylinder from buckling.
![]() |
| The recess on top fits in a hole in the wooden body. A aluminium tube glides in this 'bearing'. |
Saturday, 6 October 2012
rear light
In June I started a new job at Holmatro in Raamsdonksveer 20 km from were I live. I never planned to use the prototype of the plywood velomobile for my daily commuting but the delivery time of a Quest XS is 6 months... It 's no use to order one as it will arrive in the spring.
In the summer I used my MTB but now the wetter is getting poor I'm forced to use the prototype. I must have travelled overr 400 km now and without structural problems (apart from a broken seat hook and a chain that sprung of the idler wheel). I see some cracks here and there but nothing serious (I think). The prototype was designed on the edge (and over it here and there) to learn. I have mixed feelings when I drive over a rough road with put holes in the morning. The idea of having to call my new colleagues when I'm stuck is worrying me. But so far so good...
What I don't like: getting in and out is a burden. The chain is noisy. The Rohloff is very noisy in low gears (it is directly bolted to the monocoque). The velcro of the tent isn't strong enough, the seat is just a piece of cloth hanging like a beach chair and this gives little support to my middle back. I improvised with little hooks here and there and it is very irritating that I get hooked too now and then. When I take really hard turns the steering get uncontrolled a bit. Sometimes the chain tube bounces to the right crank. I enlarged the front wheel box at the right side because the wheel would hit it while steering. The left spring is too soft and in right turns the wheel hits the top of its box (~ 2 mm has been grinded away already!).
It is getting dark in the morning so I have installed a LED rear light. I use a head light too. Hope I'm visible now.
Johan Goosens called me and mentioned there may be interest from Belgian high schools in the plywood velomobile project. I really hope this design inspires other people. There is a lot to be improved.
In the summer I used my MTB but now the wetter is getting poor I'm forced to use the prototype. I must have travelled overr 400 km now and without structural problems (apart from a broken seat hook and a chain that sprung of the idler wheel). I see some cracks here and there but nothing serious (I think). The prototype was designed on the edge (and over it here and there) to learn. I have mixed feelings when I drive over a rough road with put holes in the morning. The idea of having to call my new colleagues when I'm stuck is worrying me. But so far so good...
What I don't like: getting in and out is a burden. The chain is noisy. The Rohloff is very noisy in low gears (it is directly bolted to the monocoque). The velcro of the tent isn't strong enough, the seat is just a piece of cloth hanging like a beach chair and this gives little support to my middle back. I improvised with little hooks here and there and it is very irritating that I get hooked too now and then. When I take really hard turns the steering get uncontrolled a bit. Sometimes the chain tube bounces to the right crank. I enlarged the front wheel box at the right side because the wheel would hit it while steering. The left spring is too soft and in right turns the wheel hits the top of its box (~ 2 mm has been grinded away already!).
It is getting dark in the morning so I have installed a LED rear light. I use a head light too. Hope I'm visible now.
![]() |
| LED rear light. Nice looking place but I expect it will become very dirty when it rains... |
Sunday, 23 September 2012
Une voiturette a pedales
Look what Cedric Doutriaux send me. Two seater, rear wheel steering, front wheel drive, 40 kg, wood and paper. From the inter bellum I think.
Saturday, 8 September 2012
Velomobile Seminar 2012
It was an interesting seminar. I liked best the work of Harald Meckenburg, Pieter Hollebrandse and Miles Kingsbury. I was very happy to meet people that have experience with sustainable alternatives for epoxy and hope I can soon put links to their work on this blog (Please send me your info!).
Patrick Hagemann showed me a wooden rim that was glued with a caseine based adhesive that you can make yourself. This movie shows how Patrick makes a wooden rim:
The chairman of the Dutch HPV association (Kees van Malsen) mentioned that he would try to organize a seminar in a few years from now. The proceedings will be available from the velomobile seminar website.
Erik Marynissen has milled the part for the wheel cover with his gigantic homebuilt router. Thank you Erik!
I have tacked the parts to a curved (~R 600 mm) piece of wood and glued them together with PU construction glue (Pattex PU construct).
Patrick Hagemann showed me a wooden rim that was glued with a caseine based adhesive that you can make yourself. This movie shows how Patrick makes a wooden rim:
The chairman of the Dutch HPV association (Kees van Malsen) mentioned that he would try to organize a seminar in a few years from now. The proceedings will be available from the velomobile seminar website.
| Erik Marynissen |
Erik Marynissen has milled the part for the wheel cover with his gigantic homebuilt router. Thank you Erik!
I have tacked the parts to a curved (~R 600 mm) piece of wood and glued them together with PU construction glue (Pattex PU construct).
![]() |
| one segment |
![]() |
| tack and glue |
![]() |
| the wheel cover is almost a sphere segment |
| sorry for the terrible photo |
Subscribe to:
Posts (Atom)